Why do image border lines disappear?

I’m trying to create a presentation with many images on separate slides. I’d like to have a border around each image so thought I’d edit the style and have it propagate to each image. But no, that doesn’t work as my images appeared as “Object with no fill and no line” in the Styles and Formatting panel. So I added a line around each image manually, and saved the presentation. Now when I open it again the lines are there but now they can be changed by editing the style!

(edit)
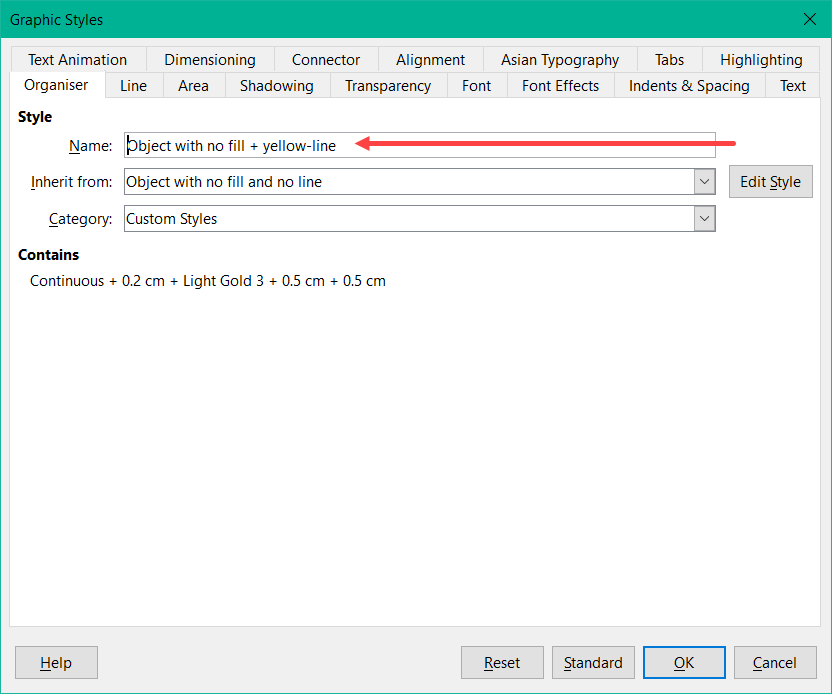
I continued adding images and saved the file. Sometime later I re-opened the file and noticed all the image border lines were again missing. I checked the style and it was correct i.e. lines were defined as continuous, pale yellow and 0.05cm thick but they don’t appear in normal view or in slideshow. I’m quite confused.

I really would appreciate an explanation for this behaviour and perhaps a recommendation of how best to automatically add lines around images.

A program can not be frustrating. In some cases the user of the program, if he does not know how it works?
Do you have any other questions?

@Hrbrgr, Many thanks for your answer (I’d upvote but as yet I have insufficient points). Just one more question though. Is there a way to automatically associate newly imported images with the new style?

Sorry, because I do not know any way to automatically assign a specific style.
The only idea would be to adapt the existing (standard) style “Object with no fill and no line” to your wishes. This is assigned to the inserted object.

Your basic idea to use styles for it is correct.
The procedure is as follows:

  1. In the Styles sidebar, highlight the “Object with no fill and no line” style.
  2. Right-click on the highlighted style and select “New …”.
  3. In the “Graphic Styles” dialog box, enter a meaningful name in the “Organizer” tab under “Name”.

  1. In the tab “Line” you enter the line style, the color and the “Width”.
  2. Click OK.

  1. Select the object that should appear with the new style.
  2. Double click on the new style.

You can create as many styles as you need.

+++++++++++++++++++++++++++++++++++++++++++++++++++++

I have created 4 new styles with me.

image description

By selecting an object and double-clicking on the desired style, the color of the line is changed.

Gif is still inserted

If you do not like a colour, you can change it later. All objects associated with this style will immediately change the line color.

I wish you success!

If my answer has solved your problem, please click on the checkmark in the circle image description to the left of the answer and click on the arrow ^ for upvote. This will tell the community that the question has been answered correctly.

With me Windows 10 Home; Version 1903; 64-Bit | LibreOffice, Version: 6.3.0.4 (x64).