
How can I edit individual labels in mail merge.
I click on the edit individual document and it brings up the sheet of the labels but will not allow me to edit it.
The manual says to open the document that has been saved and edit it as normally in Writer documents.
However, when I open the saved document I am not able to edit it this way either.
HOW do I edit individual documents and why does the program has me check the “edit individual document” but when I do, I am not allowed to edit the document.
Don’t post twice, it is very dangerous for your question. I was closing this occurrence as duplicated while I realised another user was simultaneously closing the other occurrence.
Please, always mention your environment work, operate system and LibreOffice version.
Hello,
Here is the process I tested with.
-
from Menu
File->New->Labels -
Define layout and data fields in dialog
-
Select
New Document
Result is:

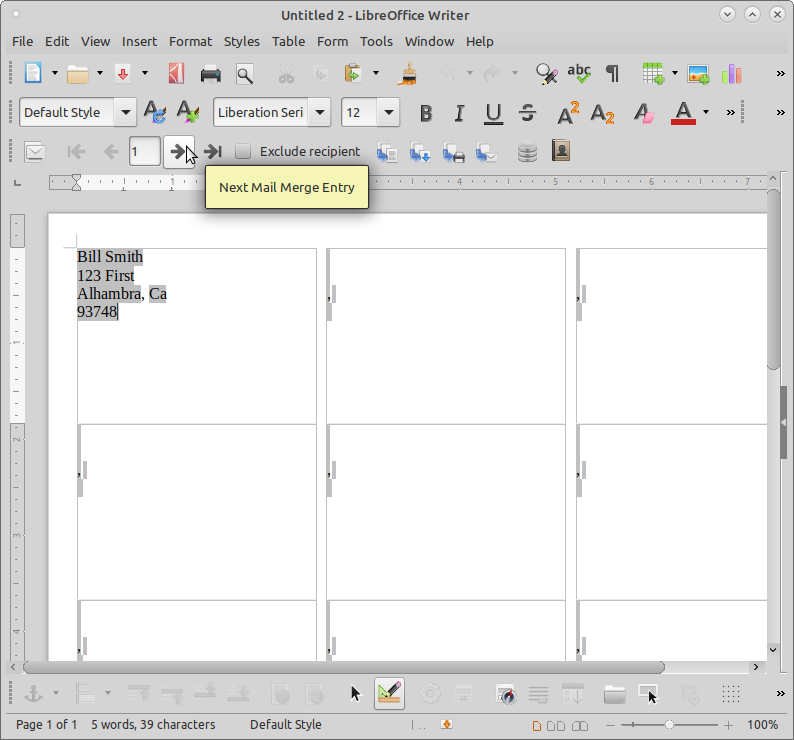
Next, using the Next Mail Merge entry button I get this individual record:
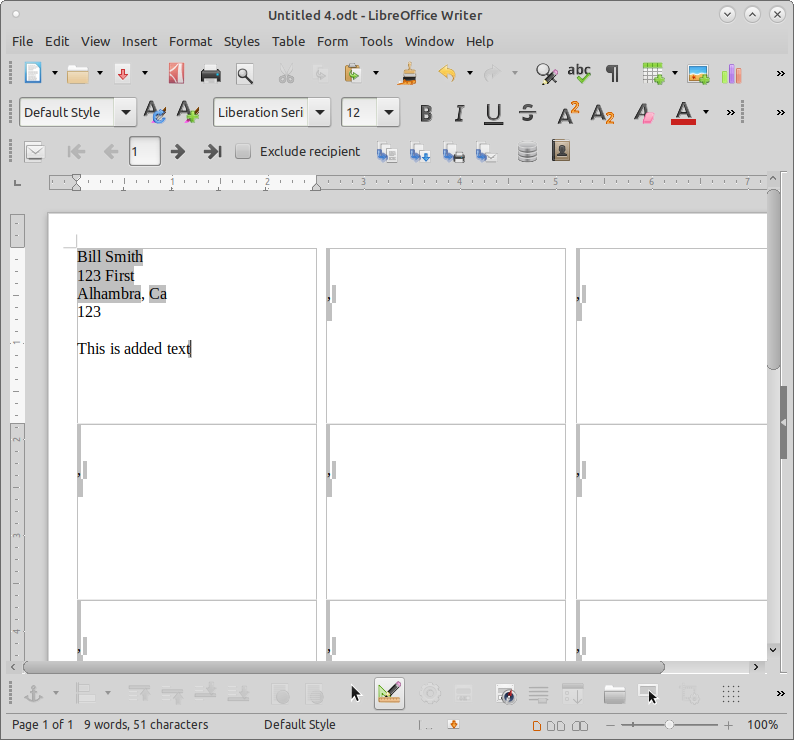
Saved the file which is then used for editing.
Since these are fields, if changing something in a field the entire field needs to be entered. Here I replaced the post code & add some extra text to the label:
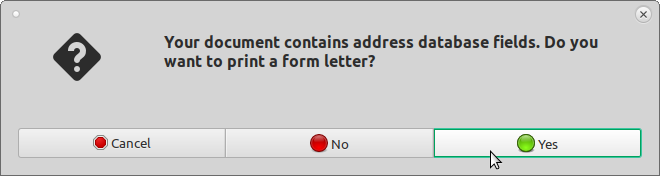
Then selected print. This brings up a dialog to print form letter. Select Yes:
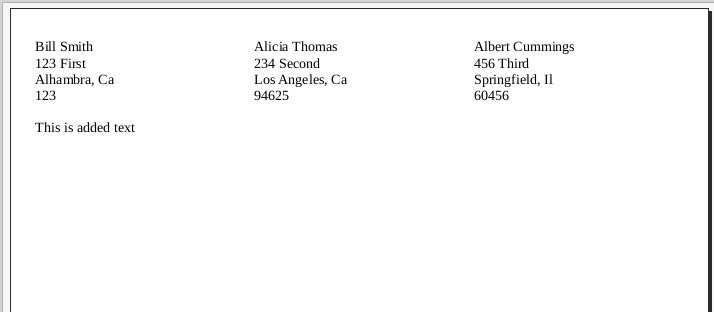
Next you get a dialog to select records to be printed. After that I printed to file with this result:
Another possibility is the sections of the mail merge are read-only. The reason for this may be that you’re expected to perform a mail merge to generate a resulting merged document, and you’ll get weird results if you edit each one… If you get an alert
Read-Only Content
Write-protected content cannot be changed.
No modifications will be accepted.
then you have to remove this write protection. Edit > Select All, then Format > Sections… In LibreOffice 7.0 the Edit Sections dialog has a left-hand navigation and you’ll notice that the Section1, Section2, … name for each label has a lock icon next to it. To remove the write-protect, click Section 1 in the left-hand navigation, scroll to the bottom and Shift+click to select all the sections, then click Write Protection > Protect to uncheck Protect. Immediately the lock icons are gone.
If you’re editing the mail merge master before you’ve performed the mail merge (with File > Print…), it’s best to edit the first label and use the [Synchronize Labels…] button in the floating synchronize window to make the rest of the labels match. And better still to make all your corrections in the mail merge wizard where you format the first label, before it generates a page of them.