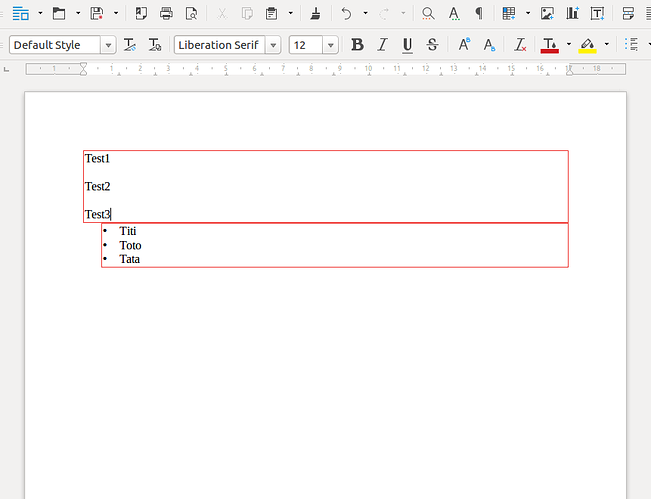
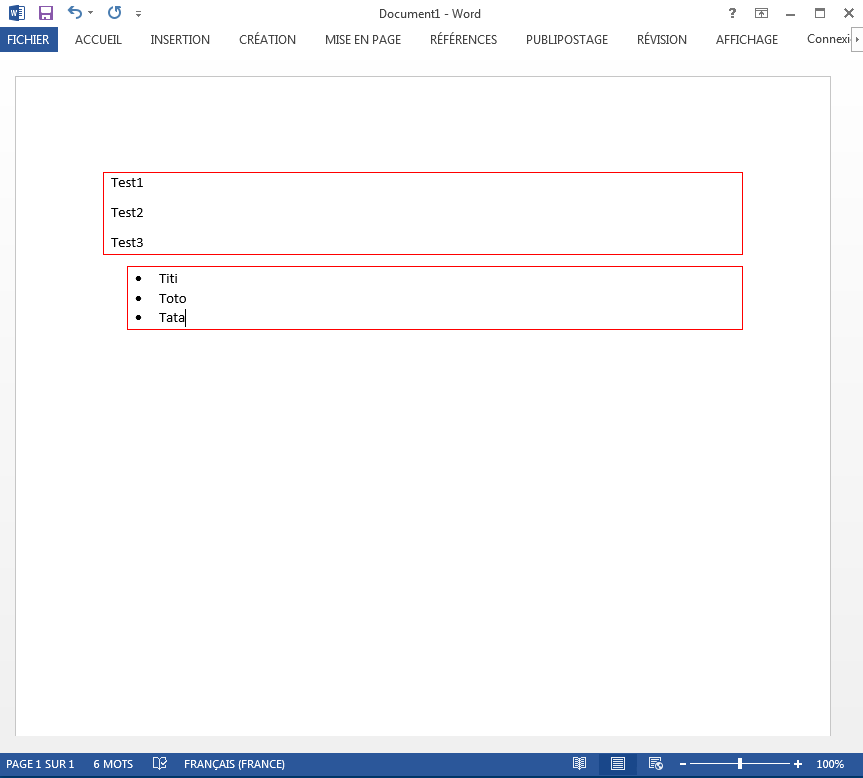
When several paragraphs sharing the same style follow each other, their borders collapse into a single border around the group.
Now, what is identical styles needs to be defined. As long as you use paragraph styles from your collections, it is easy to tell whether two styles are the same: the name is the same.
However, things become nasty when you tweak the paragraph with direct formatting, i.e. you modify attributes with the menus or toolbar buttons. This defines something like an “anonymous” style despite the fact that the displayed name remains the same, but internally LO handles it as a new independent style.
Borders do not collapse between different styles.
Nevertheless, I found a solution based on style hierarchy (one style inherits from another). Styles are available in the style side panel (F11).
If your text is not entirely boxed, created a new paragraph style as a “child” of Body Text. Right-click on Body Text and choose New. In the Organizer tab, call it Boxed text and make it depend on Body Text. Add borders to this style. Click OK.
Give style Boxed Text to all paragraphs you want surrounded by a border.
For the bulleted list, customize buil-in style List 1. Right-click on List 1 and choose Modify. In the Organiser tab, make it depend on Boxed text. This is the crucial part of the procedure.. Go to the Outline & Numbering tab and select style List 1 from the Numbering drop-down menu. (This turns paragraph style List 1 into a style-for-making-lists.) Click OK
Note: Confusingly, the List 1 paragraph style and the List 1 selected from the drop-down menu are two different styles. They bear the same name because they are frequently paired, but this is not mandatory.
Give your item paragraphs List 1 style. Borders merge!
Important: before applying this procedure, remove all direct formatting with Ctrl+M.
If you want to change indents or spacing above/below for your boxed paragraphs, do that only on Boxed Text. Never change these attributes in List 1 otherwise you’ll lose the inheritance and your issue will reappear.
In case you’re bothered by left indent between the bullet and list item text, this indent can be tuned by modifying list style List 1 (not paragraph style!!). Click on the on the fifth icon in the style pane toolbar to access list styles. Right-click on List 1 and go to Position tab. Write identical values in Tab at and Indent at to change the left list indent.
You(re encouraged to read the chapters devoted to styles in the various manuals.
If this answer helped you, please accept it by clicking the check mark to the left and, karma permitting, upvote it. If this is what you expected, close the question, that will help other people with the same question.


