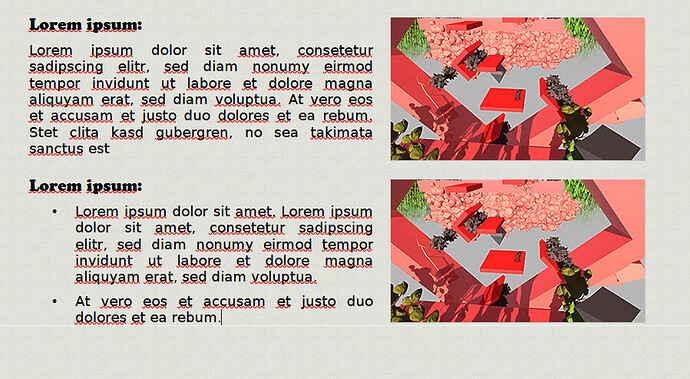
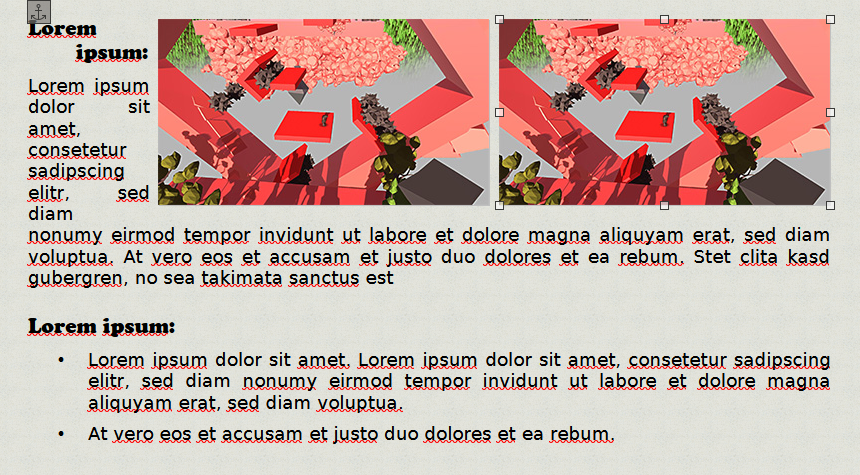
Arrange images in a column on the right side of the page

(Writer v7.6.4.1 on Windows 10)

I have three small JPG images that I want to arrange in a column on the right of the text paragraph in my Writer document.

I inserted the images from the Windows explorer by drag&drop, made sure that the images are in the original size and created a frame style called “image column right”.

Making the text float around the images on the left was easy enough to configure, but how do I make the images stick to the right of the page and have a fixed margin to the image above them in the column? It seems that I can only do that in the individual image properties (Horizontal position: Right of the complete paragraph), but not in the frame styling. And whenever I move the image with the mouse, the styling to the right of the paragraph gets overwritten.

Do I have to edit all images individually?

This is a pernicious instance of direct formatting (DF). Images, frames in general, are much much more sensitive to DF than text. Any suspicion of DF on frames, be it done with mouse or keys, immediately masks (overrides) your frame style. And you get the behaviour you complain about.

You have to work absolutely strictly with frame styles.

Configuration of your Image Column Right frame style:

  • in Type
    • anchor To Paragraph
    • size: a reasonable minimum value like 1 cm with AutoSize both width and height
      or if you want only a fixed width, enter this width without AutoSize
    • position horizontal: Right to Entire page area
      This sends the frame to the right margin.
    • position vertical: Center to Entire paragraph area
    • tick Keep inside text boundaries to avoid overflow into top or bottom margin (implies possible page break before the anchoring paragraph)
  • in Wrap
    • wrap Before
    • options: tick First paragraph (so that image never covers any other paragraph), untick Allow overlap (to avoid interference with other images)
    • spacing:set Left, Top and Bottom to some distance to create the “margin” you request betwen the image and text
  • set Borders and Area to your liking

Insert your image by any convenient method inside the buddy paragraph. Apply Image Column Right. From now on, never never never touch again your image with the mouse. Any layout adjustment must be done through the style.

It is wise to crop and scale your image outside Writer with a dedicated program. Give Writer a ready-to-be-used image to avoid any problem.

To fix your present mess, review all your images:

  1. select an image
  2. apply Formula frame style
  3. aply Image Column Right

When this is done, all your images are now controlled by your frame style.

Of course, this works only if your document is .odt because DOCX has no notion of frame style and your images revert to direct formatting on subsequent sessions.

Thanks once again! So as you can tell, I am trying to follow your advice and fix my document with proper styling. :slight_smile:

It’s obvious that I overwrite the styles if I move an image by mouse, but it seems to me that the initial direct formatting was created because I dragged & dropped the image into the document rather than inserting it via the menu…

I just deleted all images and inserted the first one from the menu while my cursor was in the “buddy paragraph”. What is a bit odd is that the image was stretched, even though the original image size is above my configured minimum size… I had to reset it to the original image size via the image properties, so hopefully that does not apply direct formatting again?

Also, the “Keep inside text boundaries” option does not seem to do anything, as the image is stuck to the very border of the page… I checked the “Standard” page styling which should be used on this page and the page borders are set to 2 cm each…

Edit: When I set the image frame styling to “Formula” and then to “Image Column Right” again, it is stretched again in the same way. The image properties are set to 71% horizontally and 51% vertically, that way it exactly matches the minimum width of 5 cm (original image width is 7 cm).

Can’t I set the frame styling to keep the original image size? I could just set a fixed width of 7 cm, but then if an image is 7,01 cm for some reason, it might do some expensive processing again…

That’s one of the nasty things with image insertion. I have not determined the exact circumstances under which this happens. I think it is related to the fact that the image is “converted” to a frame. Sometimes checking AutoSize fixes the problem but then the frame may become larger/taller than your maximum.

This is the cure. And it does not count as direct formatting, hopefully.

This is because you have a mismatch between your image size and the target frame size. I recommend to scale, crop and adjust your image to the exact dimension before inserting or pasting it into Writer. My goal is to prevent Writer from trying anything to reach the frame size, i.e. have Writer use the image “as is”. In which case Reset to Original Size will restore 1:1 size and aspect ratio.

Correct image or frame handling is Writer is very tricky. You must be very meticulous. But the result is rewarding.

There is practically no risk horizontally. The frame is always constrained to the reference (paragraph text, full paragraph, page text or page). This is not the same vertically. Writer first considers the anchor then the origin defined by the position parameters. The image is laid out from this location. As already mentioned, horizontal contrained are automatically applied.

Vertically, the frame is still constrained inside the page, but the combination of anchor, reference and frame size may cause a part of the frame to overlay top/bottom margins or footnote area. In this case Keep inside text boundaries will shift the image vertically if possible (with a paragraph reference constraint), send the frame on next page if the anchoring paragraph occupies enough space or, as a last resort, flush both the anchoring paragraph and the image to next page.

If nothing happens in your document, your images were sufficiently far from bottom of page to need no further action. But keep the setting enabled, just in case.

I am already doing that - I have scaled the images to the exact size that I want to insert them in in Writer. That’s why I asked if it is possible to set the frame styling to keep the original image size rather than use an exact size or minimum size. In the image properties, there is a button to set the size to the original size of the image, but in the frame style properties there is no such checkbox.

Thanks for the elaborate explanation, but I still don’t quite understand how to make the images in the column respect the bounds of the page… I would think that “text boundaries” also includes the horizontal margins.