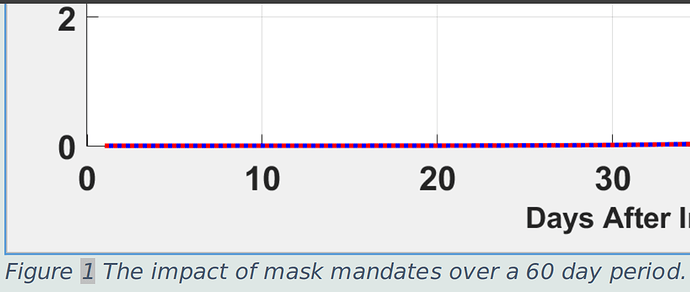
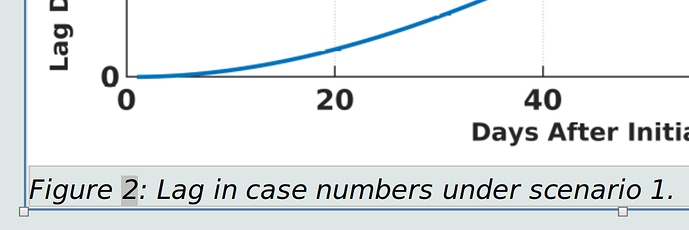
When you Insert>Caption, you create a frame around the picture (which is itself a frame) and all properties fo the picture frame are transferred to the surrounding frame.
There are two ways to fix.
A - The poor man’s way (direct formatting)
Right-click on the border and Frame or Properties (depending on LO version), go to the Border tab. Suppress the border.
To recreate the border around the picture, first click in your page to deselect the frame. Right-click then on the picture and ``FrameorProperties), go to the Border` tab. Recreate the border.
B - The automatic way (styling)
Pictures are assigned the Graphics frame style while text frame are assigned Frame. Customise those styles.
Display the style side pane if not already visible (F11). Click on the third toolbar icon from the left (Frame Styles when hovering over it). Right-click on the style name and Modify. Change the Border tab.
It happens frequently that modifying the frame styles does not update the document. In this case, select the frame(s) and reassign the style by double-clicking on the name.
With styles correctly configured, future picture insertion and captioning will be automatically formatted as you like it.
I highly recommend that your document be saved as .odt and converted to .doc(x) only to be exported to external recipients in its final form. Always work with .odt because Word has no notion of frame styles and conversion may lose information in this area.
To show the community your question has been answered, click the ✓ next to the correct answer, and “upvote” by clicking on the ^ arrow of any helpful answers. These are the mechanisms for communicating the quality of the Q&A on this site. Thanks!


