Page positioning always slightly off when printing

I’m trying to print on Avery business card stock. The layout is simple - 8.5"x11" page; cards are 3.5"x2"; 10 cards per page, 2 across, 5 down.

I start with a blank page, set top and bottom margins to .50", set left/right margins to .75". I insert a table with 5 rows/2 columns. I set the column width to 3.50" and the row height to 2.00", table alignment “centered”. (setting row height in 6.0.7.3 was simple from the table properties dialogue, but in 7.3.1.3 that’s not there anymore and you have to do it row-by-row)

If I set the table background (so I can see where it is when I print) and print the page, it’s always shifted slightly both vertically and horizontally - Instead of 0.50", the bottom offset is approximately 0.44" and the top is approximately 0.56" (shifted roughly 1/16" down), and instead of left/right being 0.75" (3/4"), the left offset is 0.625" (5/8") and the right offset is 0.875" (7/8"). The table itself is exactly the right dimensions.

I’ve tried setting the page margins to 0/0/0/0 and setting the table offsets to .75/.75/.50/.50, but that makes no difference.

Obviously I need the printed table to align with the elements on the card stock. But nothing I try makes this work.

This was worse/different on 6.0.7.3 (which is the latest version I have available on my Ubuntu 18.04LTS system). There it consistently added 1/8" to all the margins, shrinking the table by 1/4" horizontally and vertically. The attempts with 7.3.1.3 is on my Windows machine.

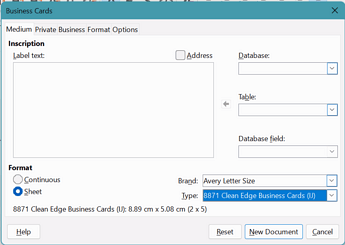
So you don’t use File > New > Business cards, select Avery letter size, and choose 8871 Avery clean edge business cards (or whatever the Avery number of the cards are)? This fills in the sizing for you and looks like the easier way.

Enters the sizes for you. (Note this is not a table but an array of frames)

It seems to be a printing question, you haven’t said what printer brand and model.

Does printing a pdf from a pdf reader like Adobe Reader also print slightly offset?

Have you tried using the printer software to realign printer?

It’s incorrect. There was never an option in LibreOffice to define table rows from that dialog (tested with 6.0 right now; of course there was - and is - an option to define column widths; note that MS Word has that option, though); but there is e.g. menu Table|Size|Row Height.

You are correct. I was confused. I know that somehow I originally set the row height and it applied to all the rows in the table. now when I go back I can’t easily repeat that, and it’s consistent between the versions. The menu Table->Size->Row Height only seems to set the height of a single row.

I confess, I didn’t see the “Business Card” document type.

I originally started with the official Avery “Template”, which turned out to be just a single page Word doc with a single table, 5 rows/2 columns. When I had issues with it I decided to try starting from scratch. That doesn’t change the fact that it’s not printing right.

I’m printing to an HP CP1525 color printer. I’d love to try something else to verify its accuracy, but I don’t have a way to generate a pdf except for what I’m doing now. So I have no way to know that the pdf is correct.

There are also problems with table borders. That worked correctly in 6.0.7.3, but not in 7.3.1.3. Given a table as described, if I add borders the last row gets pushed onto a second page, as if the border size was being added to size of the table/cells. The border should be constrained by the table/row/cell width/height.

I’ll start over with the Business Card document type and see if that’s any different.

It sets height to all selected rows.

OK, At this point I’m going to assume it’s a printer issue.

I tried the Business Cards template, but It’s a PITA to work with. I can edit the master label and sync the changes, but property changes don’t propagate. I can change the offset of the master, or change the background color, but those attributes don’t propagate to the other labels. So I can’t tweak the page position to compensate for the apparent printer misalignment.

So I’ll go back to the table approach for now.

Thanks for all your help.

In the Effects tab of the printer driver, make sure you have Actual size (or possibly 100%) selected. If you have selected Letter size and Scale to fit then the printer will scale your page to fit within the print area, so probably 1/8" smaller on each side depending on the print area of your printer.

The print area is smaller than the page size because there are some unprintable margins for paper handling.

BTW for 8871 Business cards:

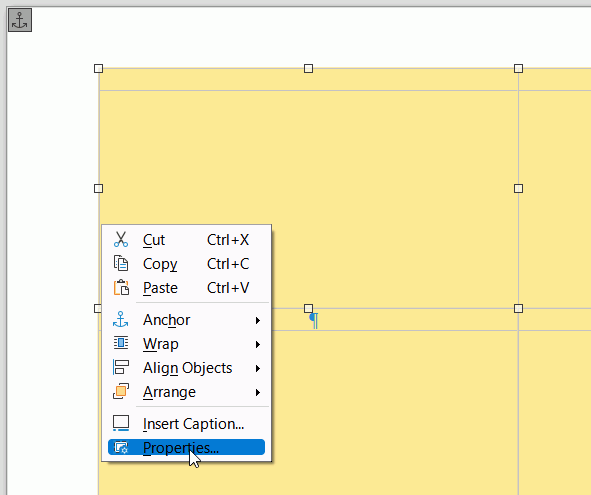
  • Background colour - select the first frame, right click it and select Properties. In the Area tab select a suitable colour, gradient, image, etc. OK and all labels change to reflect the new colour.
    AreaFillFirstLabel

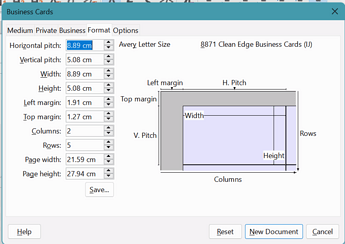
  • The position of the label margins are adjusted in the Format tab of the Business cards dialogue box before the cards are created, see my earlier comment for image.

There’s a chance I had “scale to fit” selected originally. That would explain what I saw.

Regarding the background color, That’s what I did, and it only affected the first frame.

Only being able to adjust the margins at creation isn’t going to help much if I have to tweak it to fit the printer output. :roll_eyes:

I have another problem now…

I started from scratch with a blank sheet (8.5x11) page. I set the margins to 0/0/0/0, then set the background to grey/ I printed that, and verified where the actual print area was (where one would expect… roughly 1/8" border all around.

Then I created a table (2x5, 3.5" wide columns, 2" high rows, with outside border and single vertical border down the middle (so I could see where on the page it was), set the spacing to 0.85" from the left and 0.45" from the top, and printed it. The (empty) table (with border) printed over the grey page background as expected.

I then added an image to the first 4 cells and printed it…

The area fill for the page (background) only printed from the left edge of the table to the right of the page. The area left of the table is white. This is not consistent with the print preview, which showed the table contents centered in the middle of the 8.5"x11" background.

I exported as pdf, and (in Acrobat Reader) the pdf file matched the print preview. I printed from Acrobat and the printed output is correct. I notice that the direct printout also clipped the op of the page fill by a slight amount (maybe 1/32"). The table contents are still in the correct position (compared to the pdf print), but there’s a slightly larger whitespace at the top (exactly the same on the right and bottom).

Check if HP have posted newer print drivers/firmware for your printer.

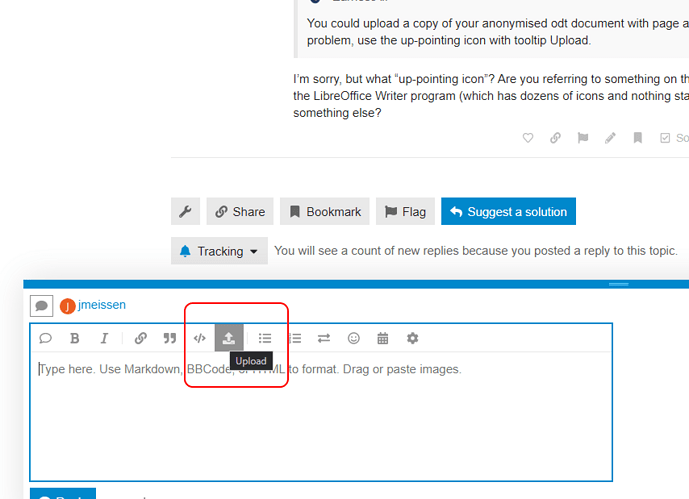
You could upload a copy of your anonymised odt document with page area fill problem, use the up-pointing icon with tooltip Upload.

I’m sorry, but what “up-pointing icon”? Are you referring to something on the web page, or the LibreOffice Writer program (which has dozens of icons and nothing stands out), or something else?