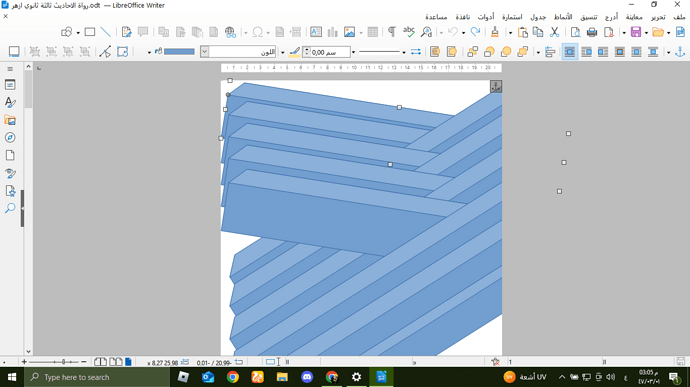
Why can't I move shapes outside the paper borders?


I can reduce the shapes outside the right border, but I can’t reverse this for the left border, and the same goes for the top and bottom. Another thing: Why do the shapes disappear when I reduce the margins to less than 0.01 cm? I mean they’re there, but they’re invisible to me. I want to print the first page without any margins so the colors are on the entire page, including the shapes, like a book cover. Also, if I export the page without margins as a PDF, the shapes disappear.

This translation may be inaccurate.

Shapes are constrained by the page limits (margins play no role here). So you should not be able to offset it past the right edge.

How did you create the shape? How and where did you insert it?

Graphics material on cover page should be inserted in background. Then you can request in the page style to print your background without margins.

As usual, mention OS name, LO version and save format. For best analysis and advice attach a reduced version of your document with only first and second page.

Use Draw instead of Writer.

1 Like

Sorry, I forgot to do that. Here you go.
Windows 10 64-bit, LibreOffice 25.2.
File save format: .odt.
Here’s the file for the first two pages.

v2.odt (‏24.1 ‏ك.ب)
@ajlittoz

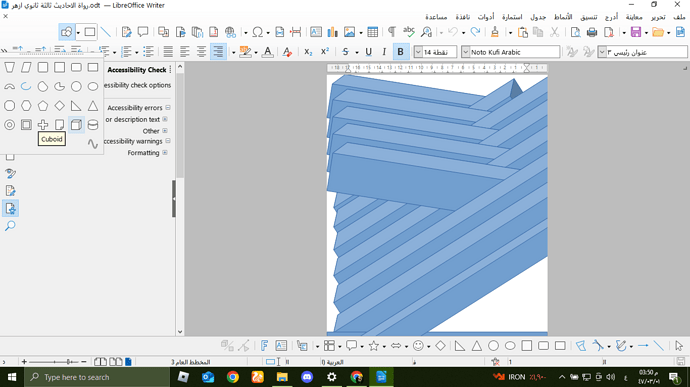
As for creating shapes, I just created them from here.

I hadn’t thought of using it before, but it’s useful now. Thanks… But a quick question, so that I can finish this completely. About exporting, should the background be transparent or white so that I can put the shape in the writing file?

Call File>New>Drawing… which opens a new drawing document.
Copy your drawing from Writer to Draw.
Now you have many extra features, and you can move shapes wherever you want.
When finished, you may copy the result to the word processor.

1 Like

From what I see, you created several “basic” shapes and combined them in an ordered sequence to get the final effect. Your “basic” shapes are rotated which is probably allows you to position them outside the page limits (though their width is exactly 21 cm which is egal to page width, thus Writer does not object).

IMHO, you should design the whole graphics in Draw, group everything and clip to final size. The clipped group can then be pasted as a single object in Writer.

Designing you graphics in Writer leads to several layout flaws. Your shapes are anchored to several paragraphs with various vertical positions set manually. This is the worst case when you try to line up shapes. As suggested, do everything in Draw to sole at least the mutual alignment.

You already customised Default Paragraph Style (DPS) to switch to Index for next page. Usually DPS is used for the main narrative. Style for cover page is rather First Page (which switches to DPS, so you’ll have to customise this too). Since First Page will only be used for cover, it does not matter how you configure it. Keep one empty paragraph in it, anchor the pasted graphics to it and send it into the background. With a right-click on it and Position & Size, you access the position parameter. The reference to use to “skip” margins is Entire Page.

IMPORTANT: don’t move your graphics with the mouse, otherwise it will revert to paragraph anchor.

Setting margins to 0 only for graphics, image, frame, … positioning is pointless and even harmful.

PS: when I export your document to PDF, shapes don’t disappear. I use 25.2.5.2.

1 Like